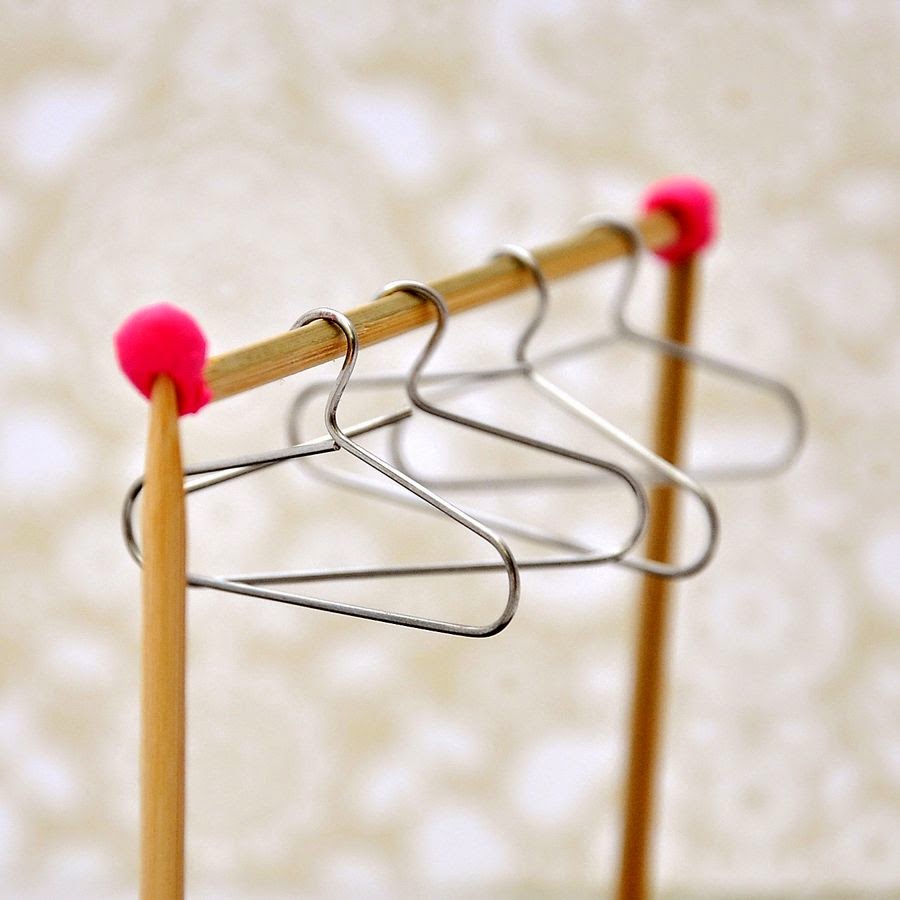
Días atrás jugando con un clip no se como me di cuenta que si lo abría un poquito, tenía forma de percha! como una perchita chiquita! Y se estarán preguntando, para que me sirve una perchita chiquita?? bueno no se, pero es tierna y ya ... además me pareció un lindo embellishment para alguna tarjeta o algún LO... o... hasta para una casa de muñecas! las nenas siguen jugando a eso, no?
A few days ago playing around with a paper clip I realize that if I opened and bended a bit, it turns into a mini hanger!! And you might thinking why I want a mini hanger for?? well... I dont know... but is cute and that is enough reason to make it I guess.... You can always used as an embellishment in a card, or even for a doll's house, if kids still play with it...
En fin, la técnica es super simple, se abre un poquito se dobla de un lado y se corta el excedente con una pinza.... si no entendieron nada acá va la imagen:
Only four steps! here is the tutorial:
Me hace acordar mucho a la perchita que venía con el
kit de febrero de Simon Says, (ahi pueden ver unas ejemplos lindos de tarjeta para usarlas)
You can see some examples of cards here
Espero les haya gustado, y ya tienen algo para probar mientras están en la oficina o en la escuela (: y si se aburren acá pueden ver como hacer
más cosas con clips!
I hope you liked it, and now you have something to do if you get bored in the office/school/college (: and you can try this others clips ideas as well!
Love, Agus
Don't forget to follow me on Insta for sneak peeks, on Facebook for news and you can also subscribe to my newsletter for update of new posts!
No se olviden de seguirme en Insta para sneak peeks, en Facebook para noticiasy y también se pueden subscribir a mi newsletter para updates de posts nuevos!


 Cardmaking
 I'm Loving
 Christmas Season
 Personal
 Living in Buenos Aires
 Recipes
 Snail Mail